My top tool to cull your weddings faster
Wedding photographers! I think we can all agree that culling a wedding is no fun! We all start pretty excited about selecting the best photos and end up pulling our hair out because it's already two days after the wedding and we are only reaching the family photos portion of the wedding day.
Today, I want to help you speed up your workflow with my favourite culling tool and show you how to use it.
It's called Photo Mechanic. It’s fantastic and much faster than Lightroom or Bridge. So check out how to use Photo Mechanic to help you cull your weddings fast.
Photo Mechanic is not a fancy program. It doesn't look pretty but it gets the job done.
LOADING YOUR IMAGES
Photo Mechanic loads your images quickly. If you want to zoom in to check sharpness, it will not lag.
When you open the program, you will get this window.
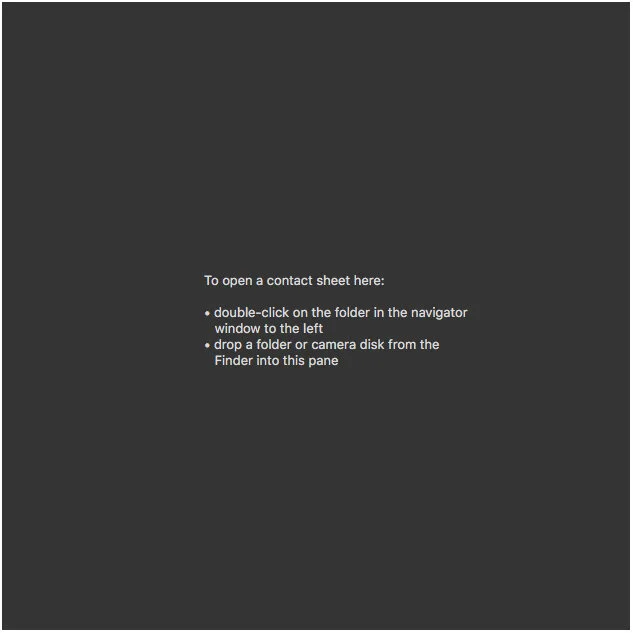
You can either
drag & drop your images into this window.
select your folder in the navigation bar. Double click on the folder and your photos will load.
2. SELECTING YOUR IMAGES
You can organise your wedding photos by capture time, filename or even camera model.

Start culling by double-clicking on the first image or by pressing the spacebar. This will bring up a new window, allowing you to see the image properly.
You can rotate your images using the blue arrows.
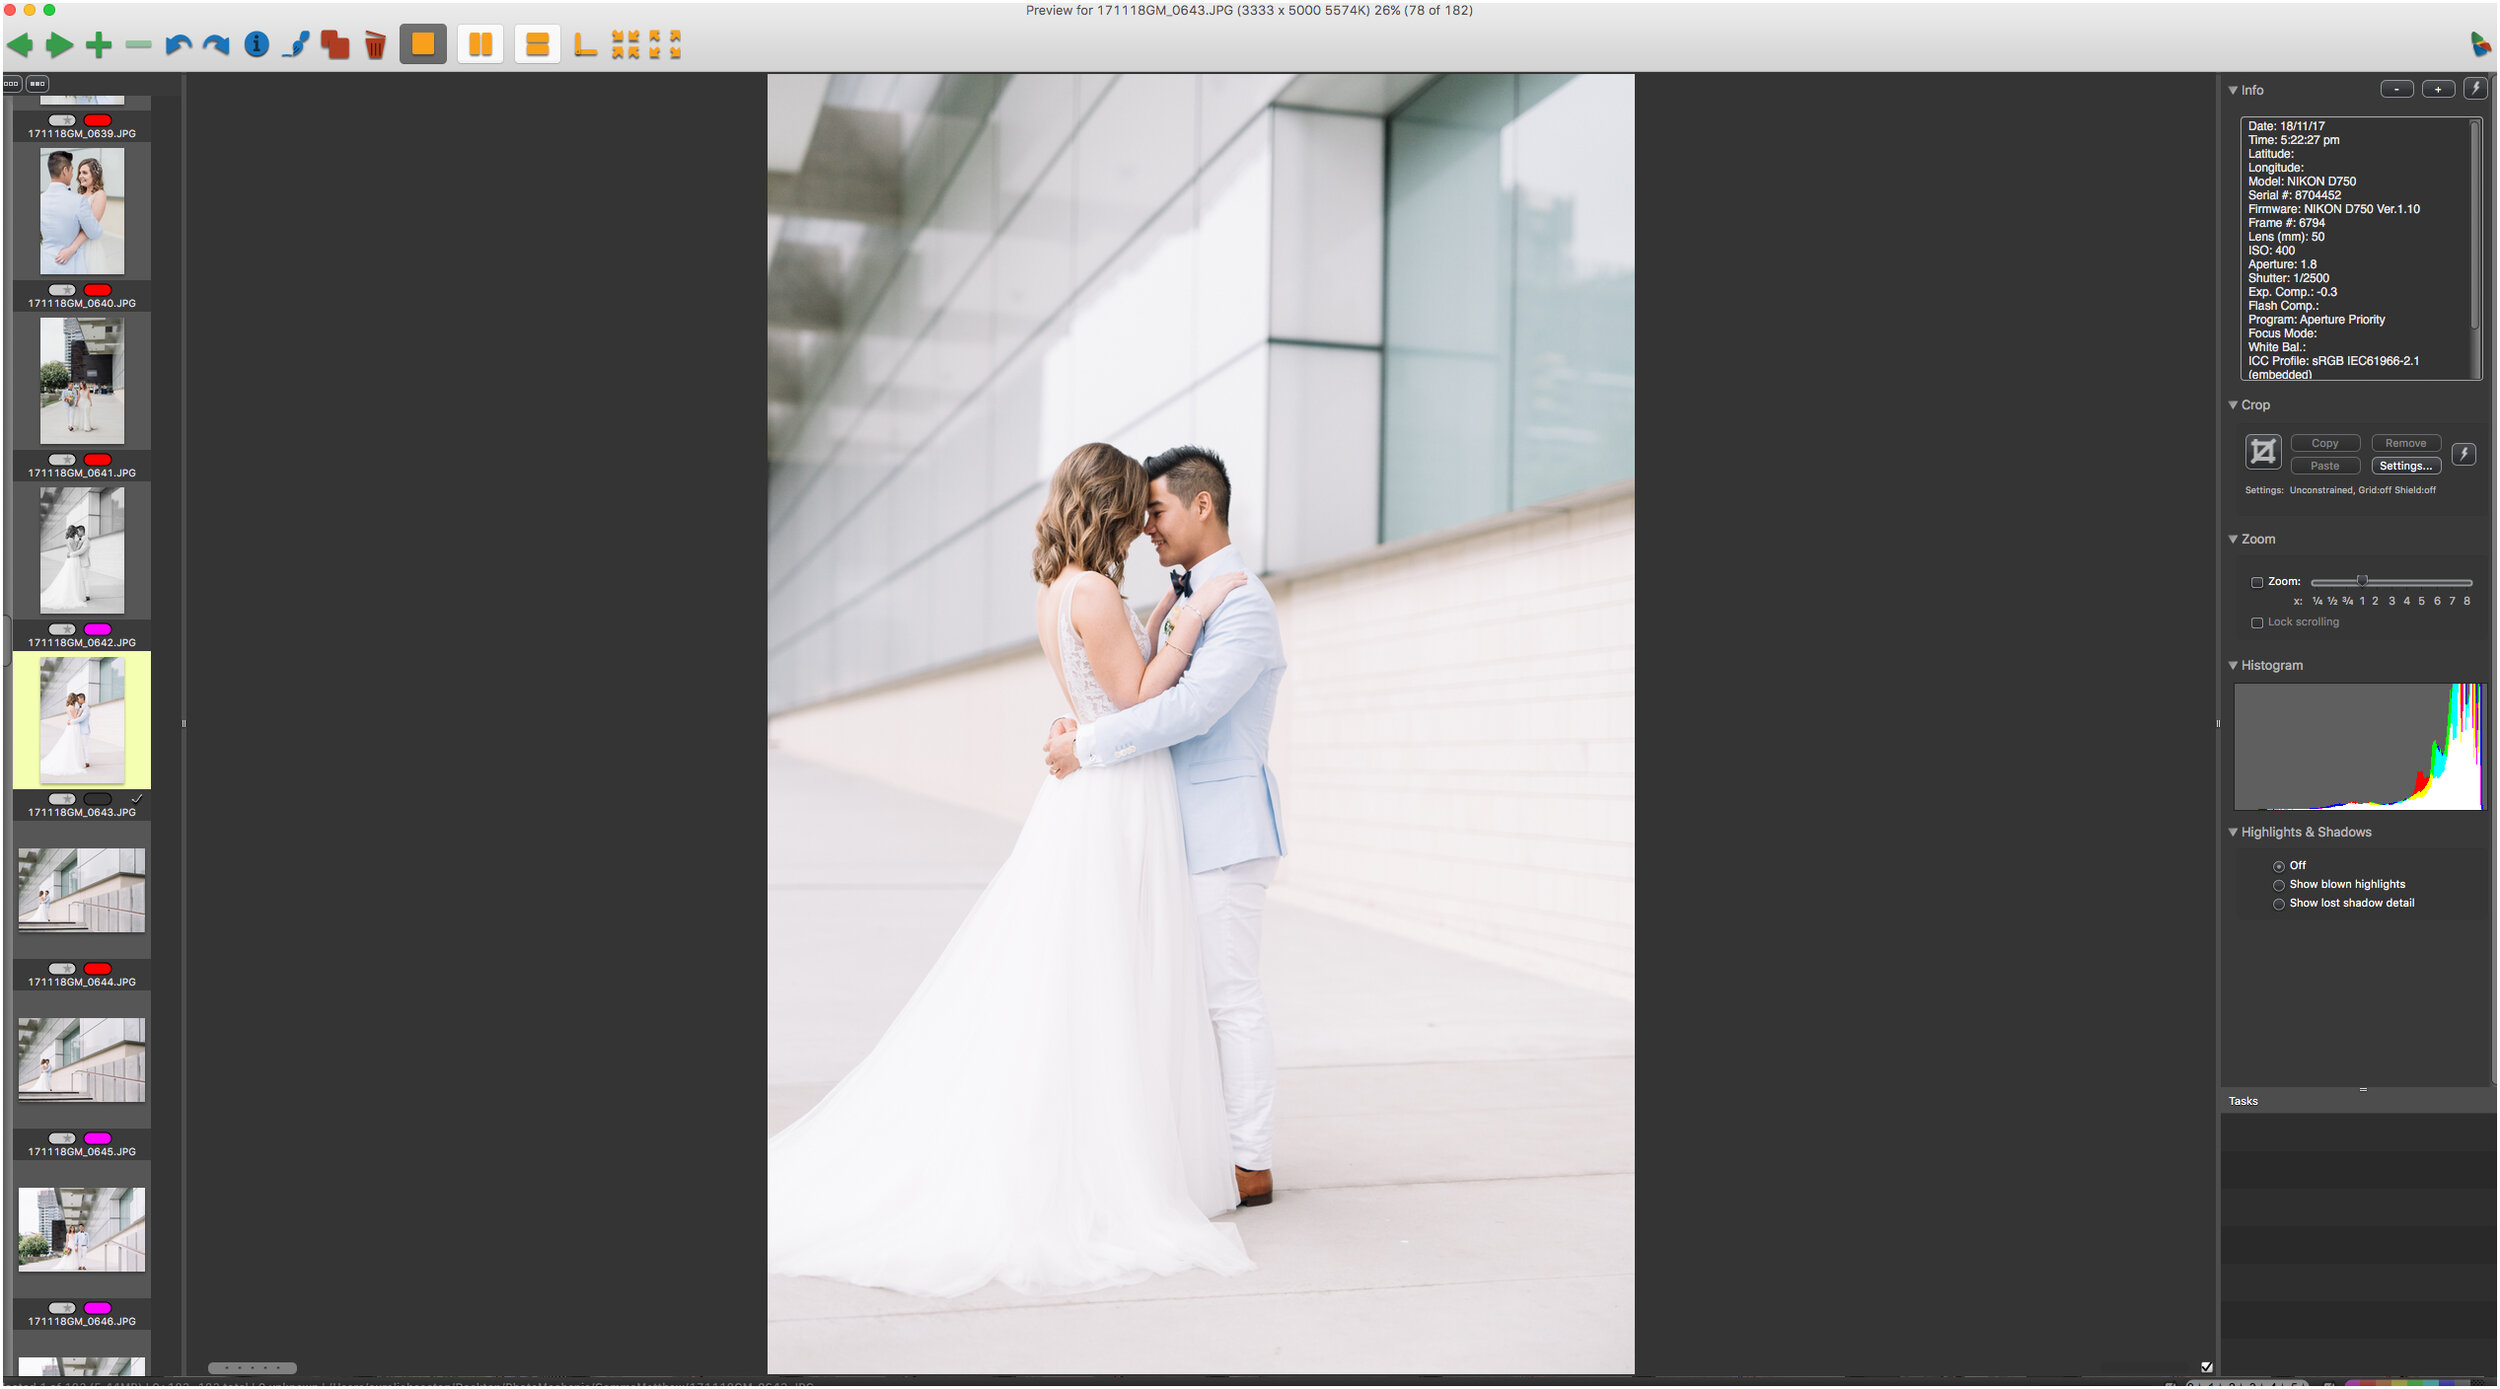
Zoom in to check sharpness by pressing the Z key. You can set up the amount of zooming in you need by using the slider in the zoom tool on the left hand side.

You can then tag (T) the images you want to keep. Once an image is tagged, you will see a check mark in the bottom corner.
You can also colour code the images. This can be useful if you want to highlight your sneakpeek or blog images right from the start.

AFTER THE FIRST ROUND OF CULLING
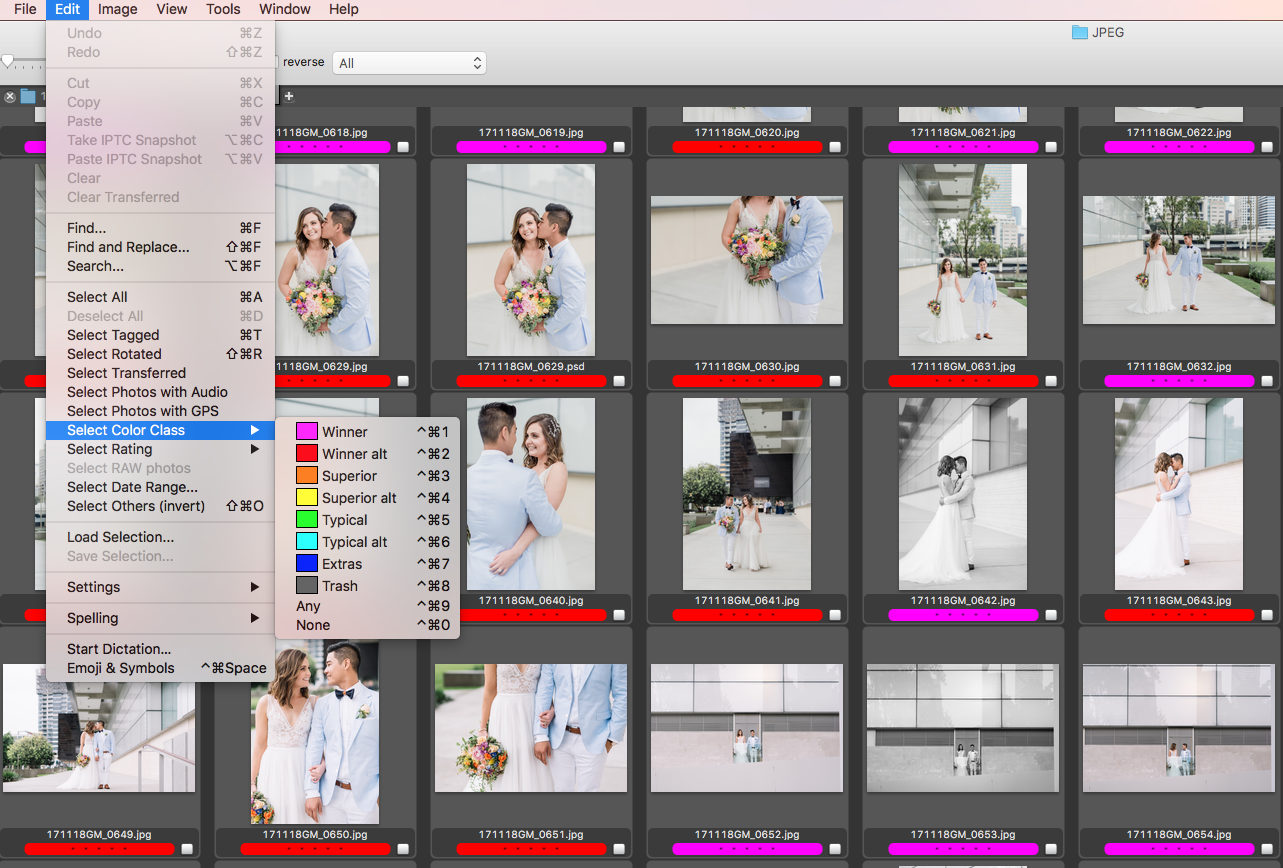
If you have selected too many images and have to do another round of culling, just untag the images you want to get rid of by pressing T again.
If you have selected using the colour coding method, press the colour class number to remove it or another number to change its colour class.
We are almost ready to edit!
LOADING THE IMAGES INTO LIGHTROOM
Once you are done with selecting your images in Photo Mechanic, go to: Edit – Select Tagged or Select Colour Class.
You can either:
Open Lightroom, select Import Photos and Videos and drag and drop the images directly from Photo Mechanic!
I like to move my selected images into a new folder called Final Selection. I then would drag and drop or import from a folder in Lightroom.

If you have decided to drag and drop from your original folder, it will load all the images but will only import the images you have tagged in Photo Mechanic. They will be highlighted and already tagged!

Just click Import and voila! You are ready to edit the wedding or send the images to your editor!
This program is also great if you want to rename your files or if you want to synchronise your cameras. Check out this blog post to see how to do that.
I love that you can try before you buy with a 30 days free trial.
Maybe Photo Mechanic isn't for you and you would like to continue culling your weddings in Lightroom? I will share some Lightroom tips very soon!
Finally, I am sure you have heard of the wonderful Katelyn James. She has shared an interesting tip: start culling from the reception. What do you think about this?
You can read her post here: http://katelynjamesblog.com/a-culling-breakthrough/
I hope this post will help you get your time back! Let me know if you found it helpful!